Setting Up 9router in Pi.dev
A friendly walkthrough for connecting 9router to Pi.dev with the better-custom provider package.
A clean agentic developer workflow is much nicer when model routing stays in one place. Pi.dev already works well from the terminal, and 9router can add a local routing layer for choosing which models power each session.
9router has become popular because it makes model switching feel simple. It can sit between your tools and different LLM providers, expose an OpenAI-compatible endpoint, and keep routing rules in one local dashboard. That is helpful when testing many models, comparing responses, or keeping a coding agent setup flexible without changing every app config.
This guide walks through connecting 9router to Pi.dev with the better-custom package. After setup, Pi.dev can use models from a local 9router provider without needing a separate config for every model.
This walkthrough follows the flow from my Instagram Post, with a bit more context for each screen.
What this setup does
The goal is simple: connect Pi.dev to a local 9router endpoint using an OpenAI-compatible provider.
For this setup, you need:
- Pi.dev
- 9router
- the
better-customPi package - a local 9router API endpoint
- a 9router API key
Once everything is connected, Pi.dev can see the models exposed by 9router and use them like any other provider.
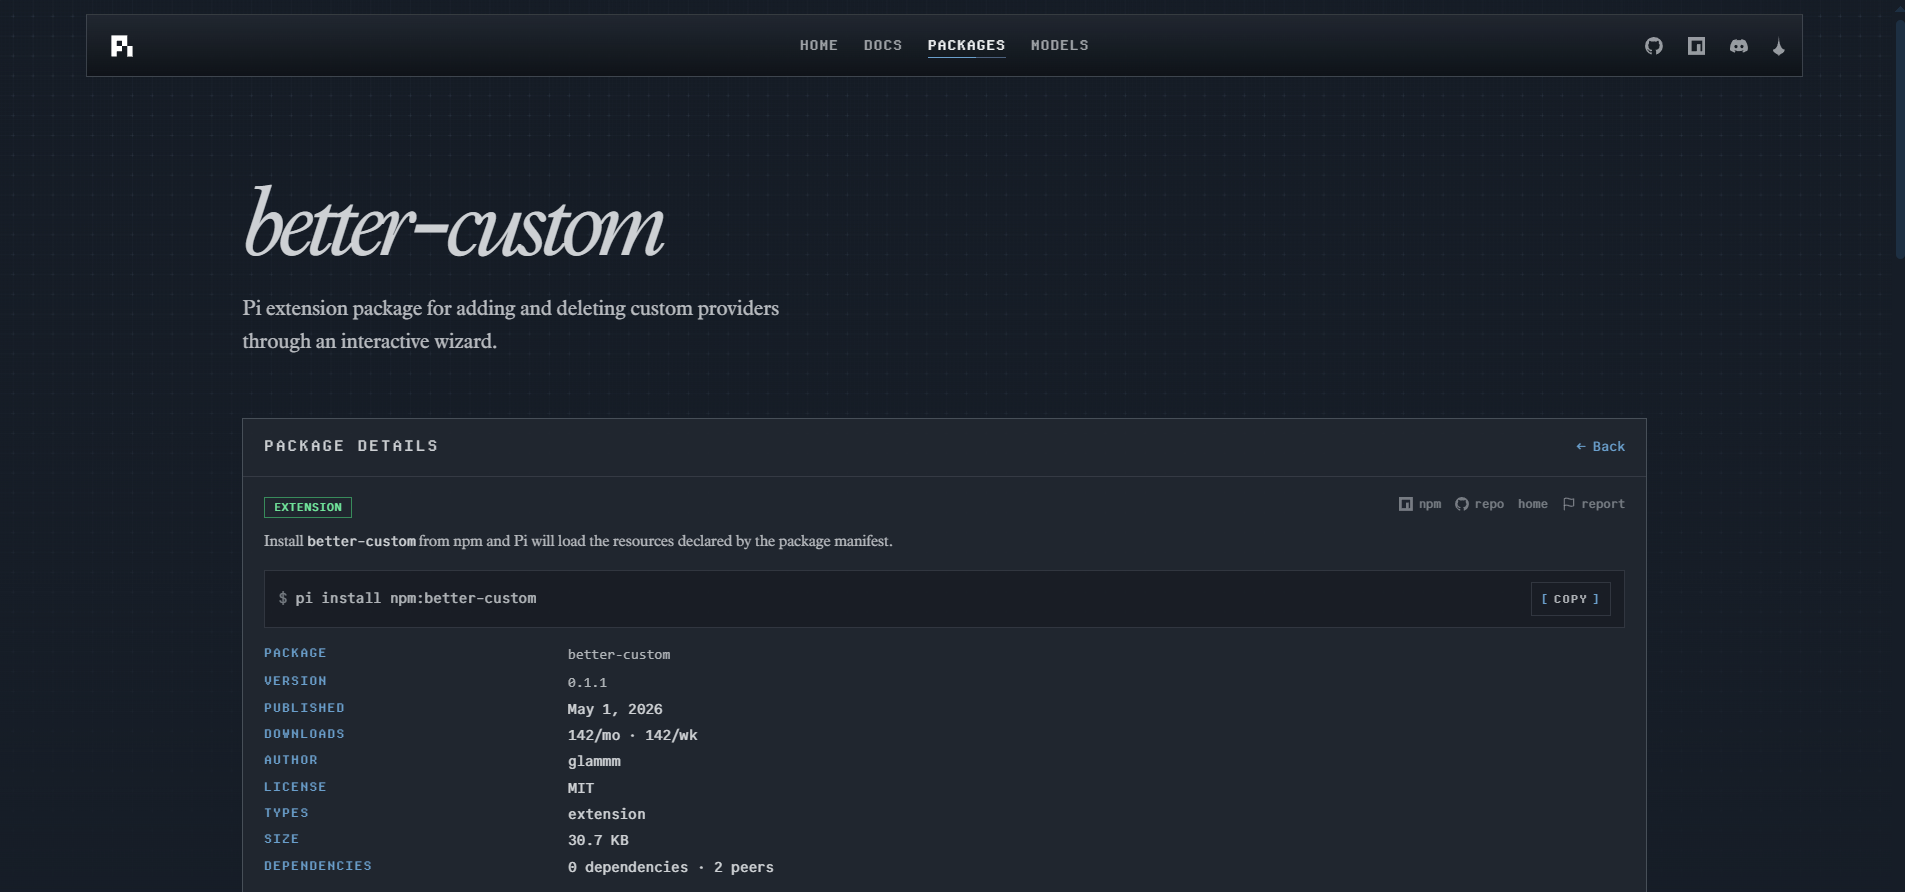
Step 1: Find the better-custom package
Open the Pi.dev website and go to the Packages section.
Search for better-custom. This package adds custom provider support to Pi.dev, which is useful for connecting OpenAI-compatible endpoints like the local endpoint from 9router.
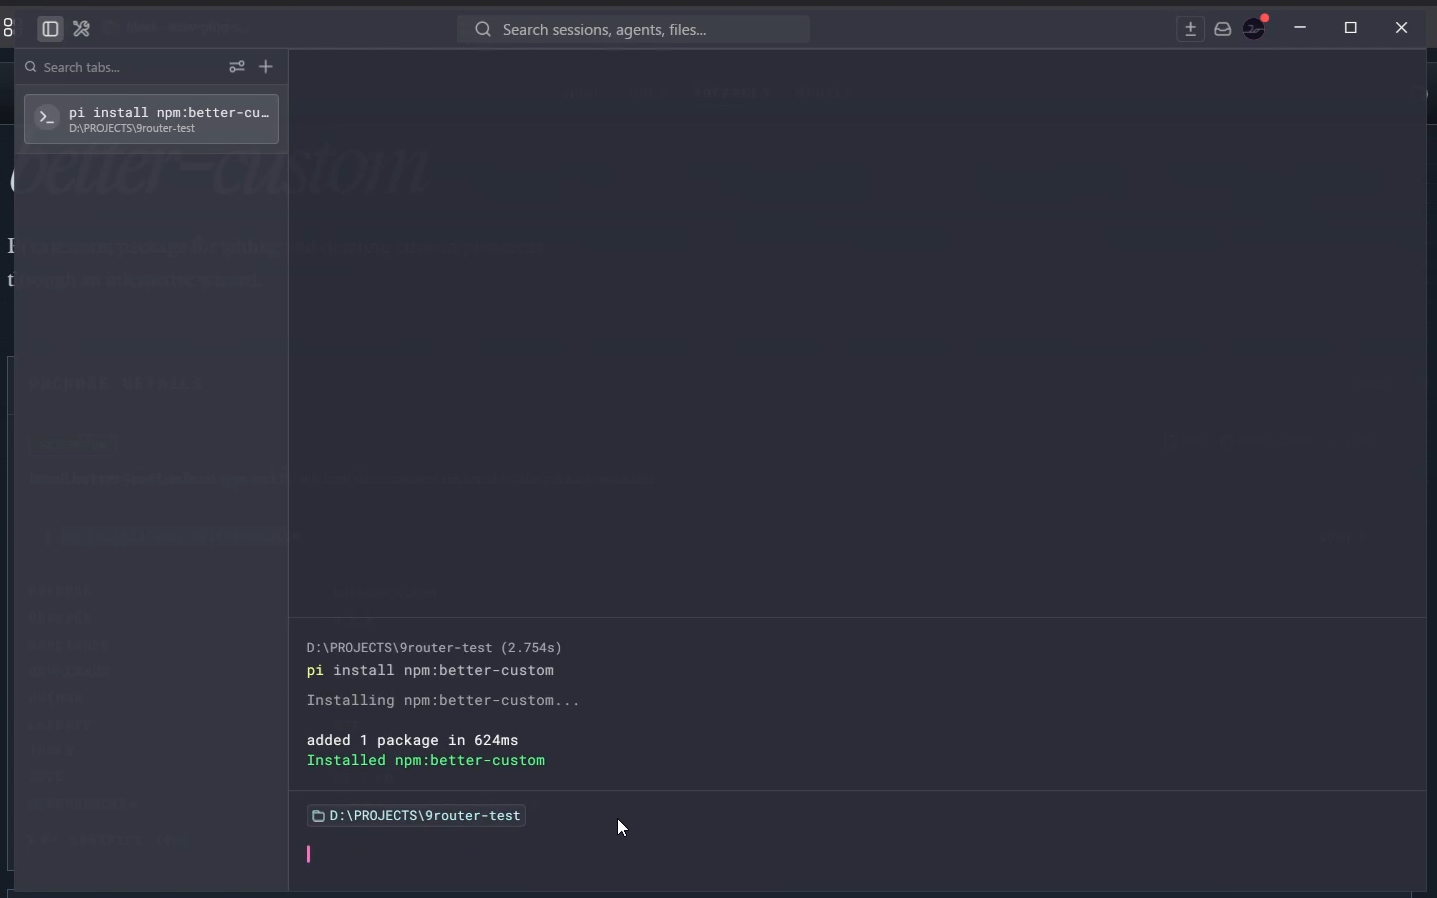
Step 2: Install the package
After finding the package, install it from the terminal:
pi install npm:better-customThis adds the extension to Pi.dev so it can be opened from inside the terminal UI.
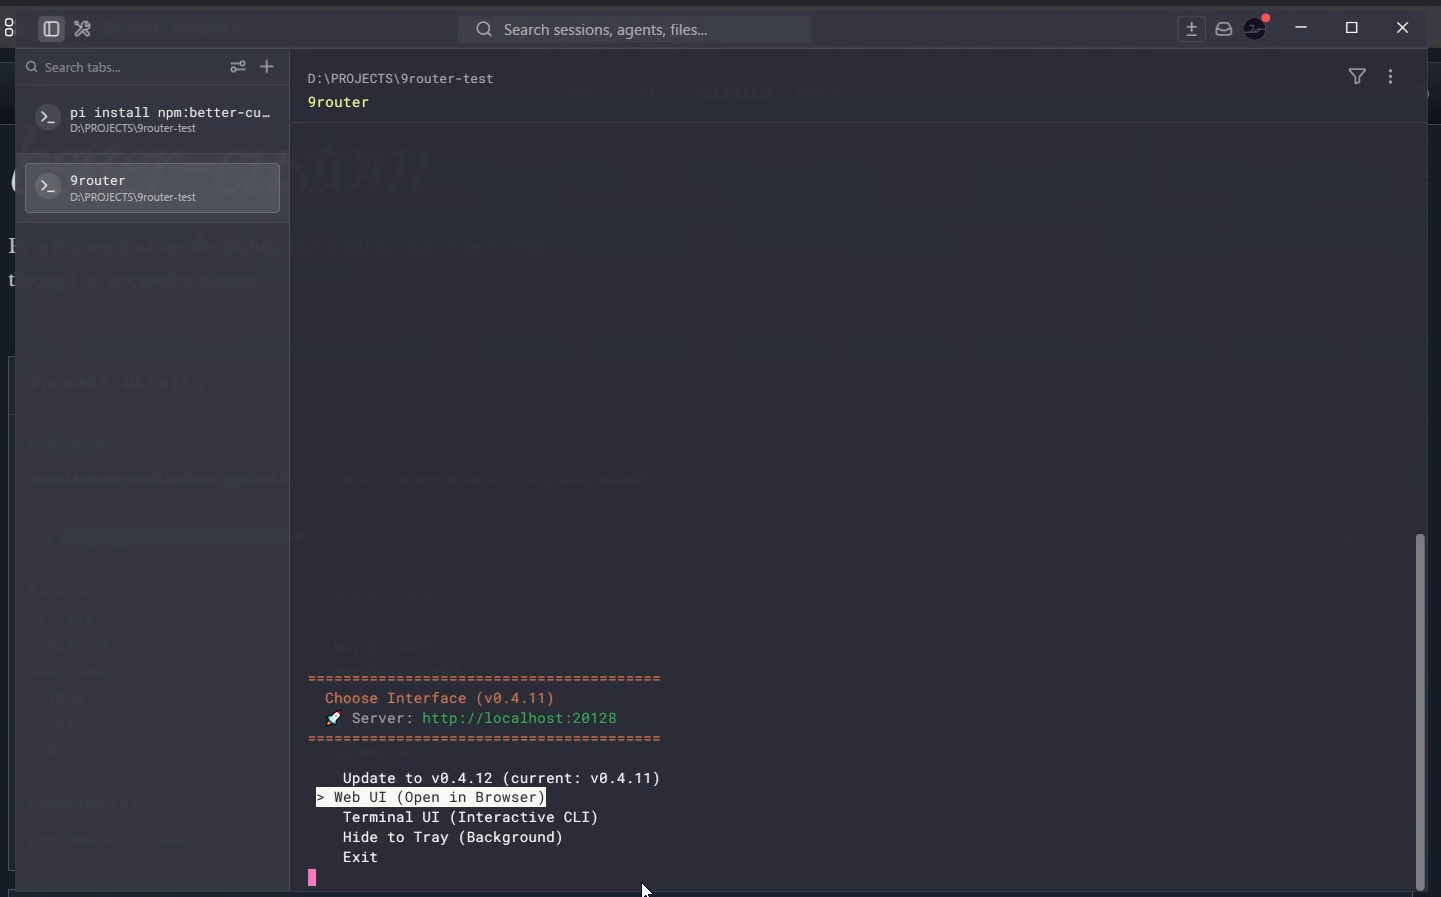
Step 3: Start 9router and copy the endpoint
Open another terminal tab and start 9router.
Select the Web UI option so the local 9router dashboard can be opened in the browser.
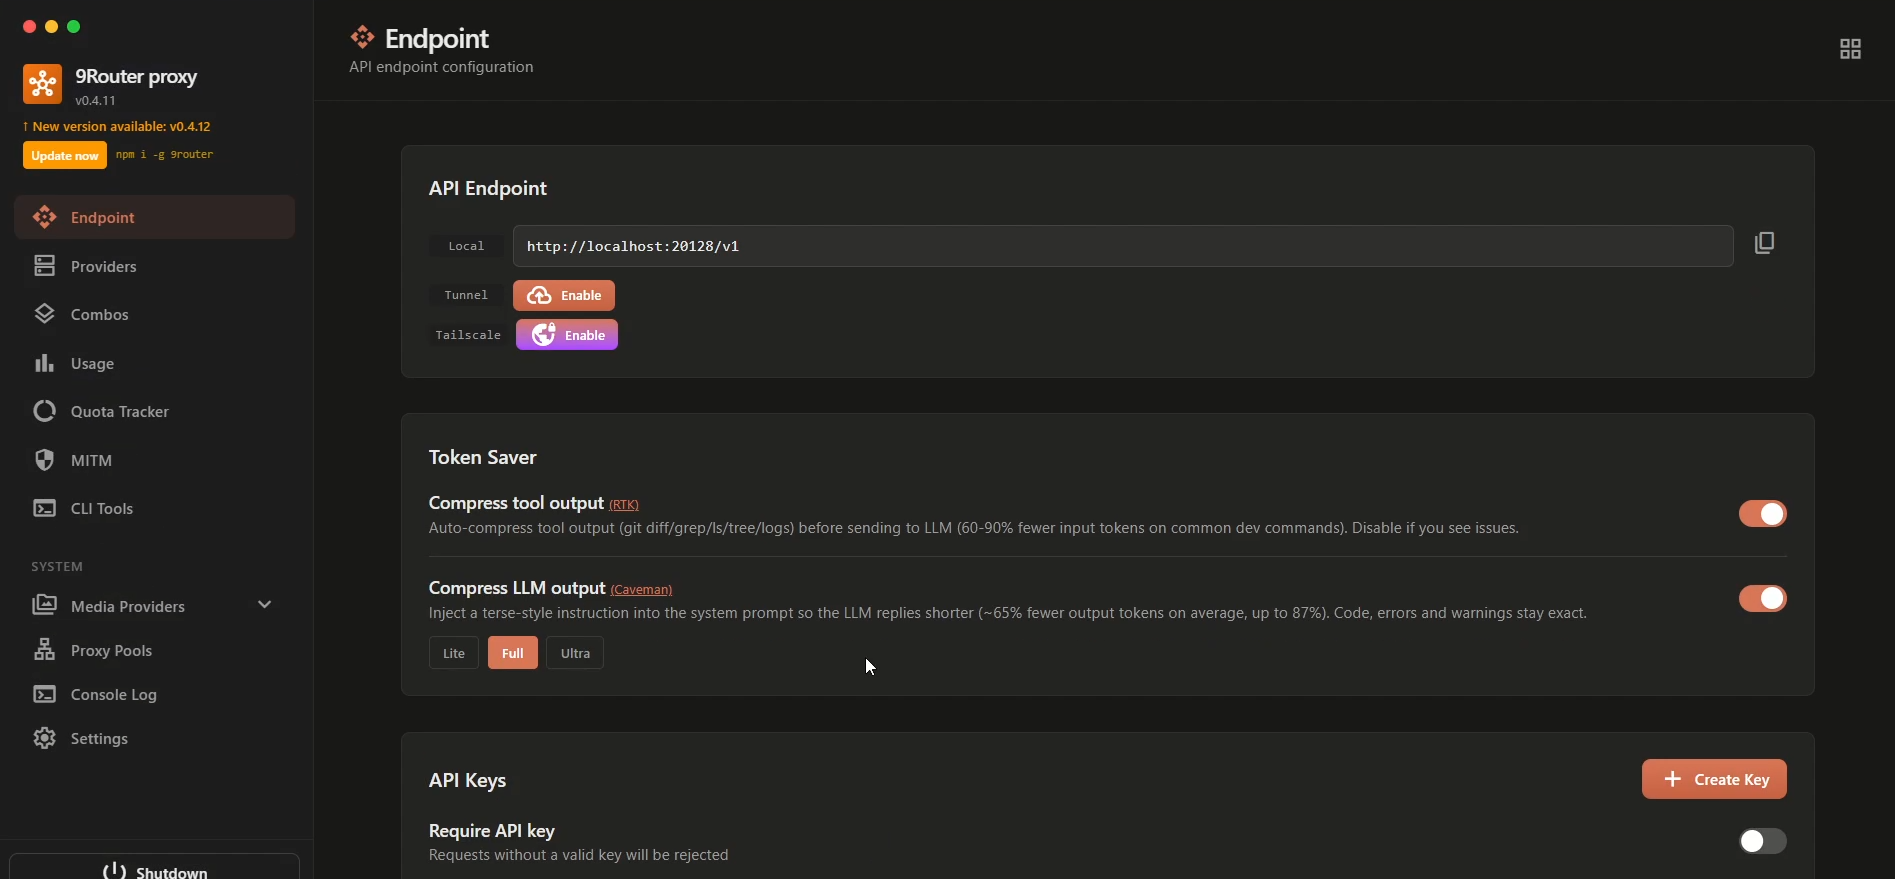
In the 9router dashboard, copy the API endpoint. For a local setup, this usually points to a localhost address.
Keep this endpoint nearby. Pi.dev will ask for it in the next step.
Step 4: Add 9router as a provider in Pi.dev
Start Pi.dev from the terminal:
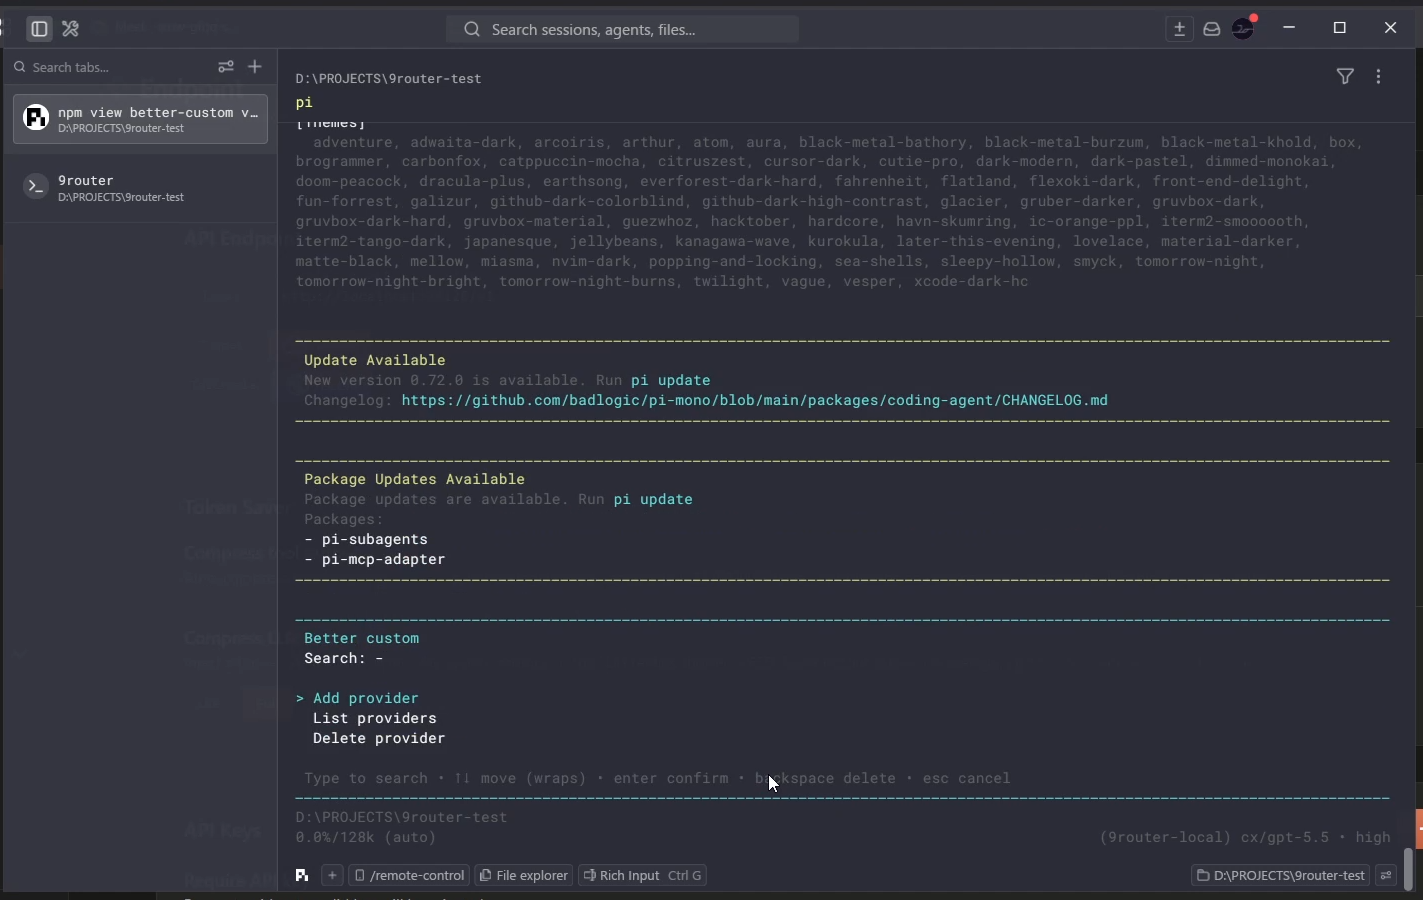
piInside Pi.dev, open the better-custom extension and choose the option to add a new provider.
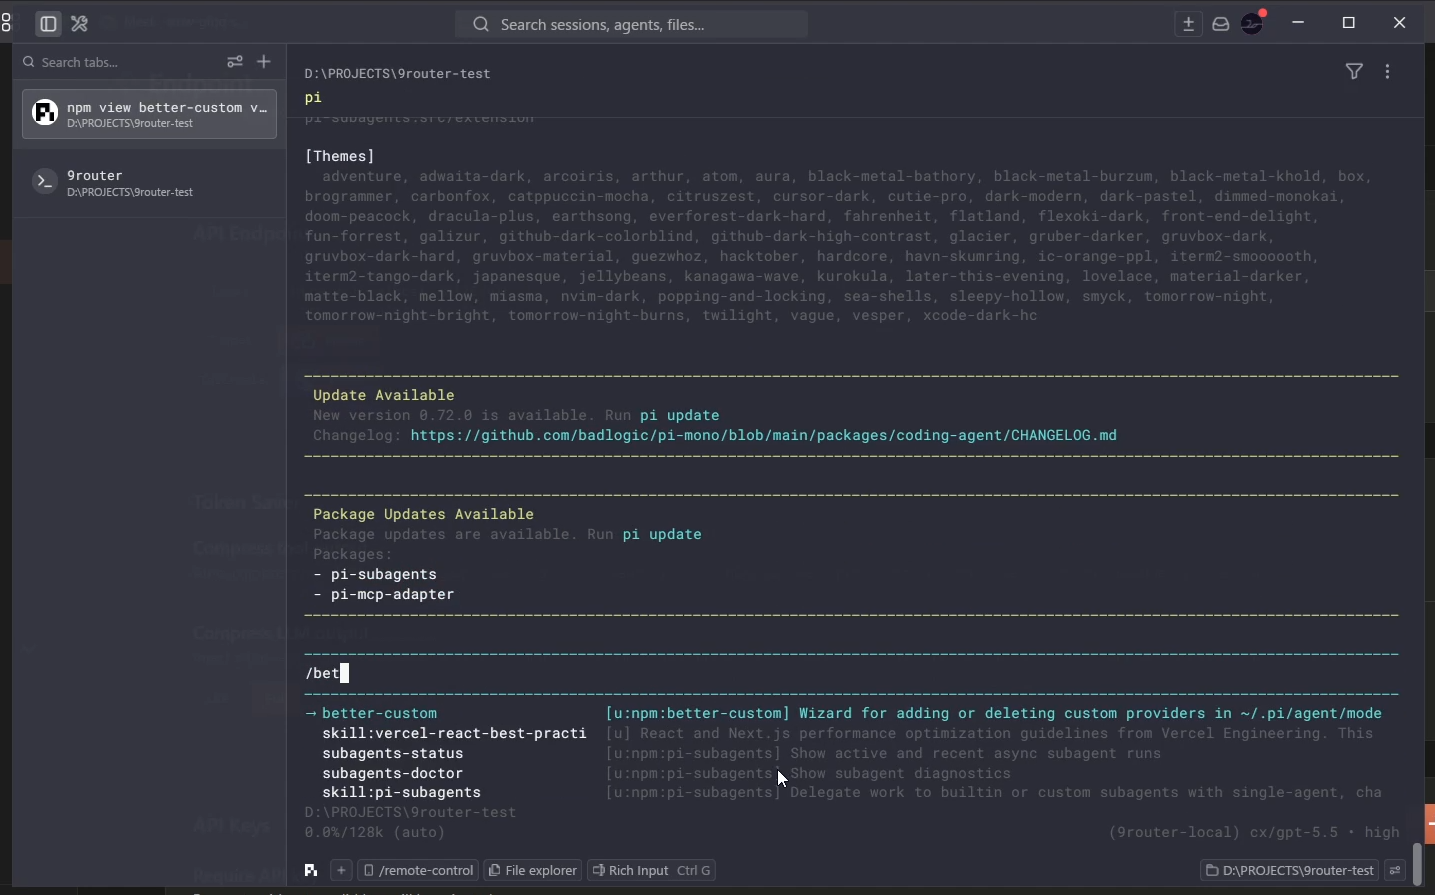
For provider type, select OpenAI-compatible.
After that, Pi.dev asks for the API endpoint. Paste the endpoint from the 9router dashboard, then continue to the next prompt.
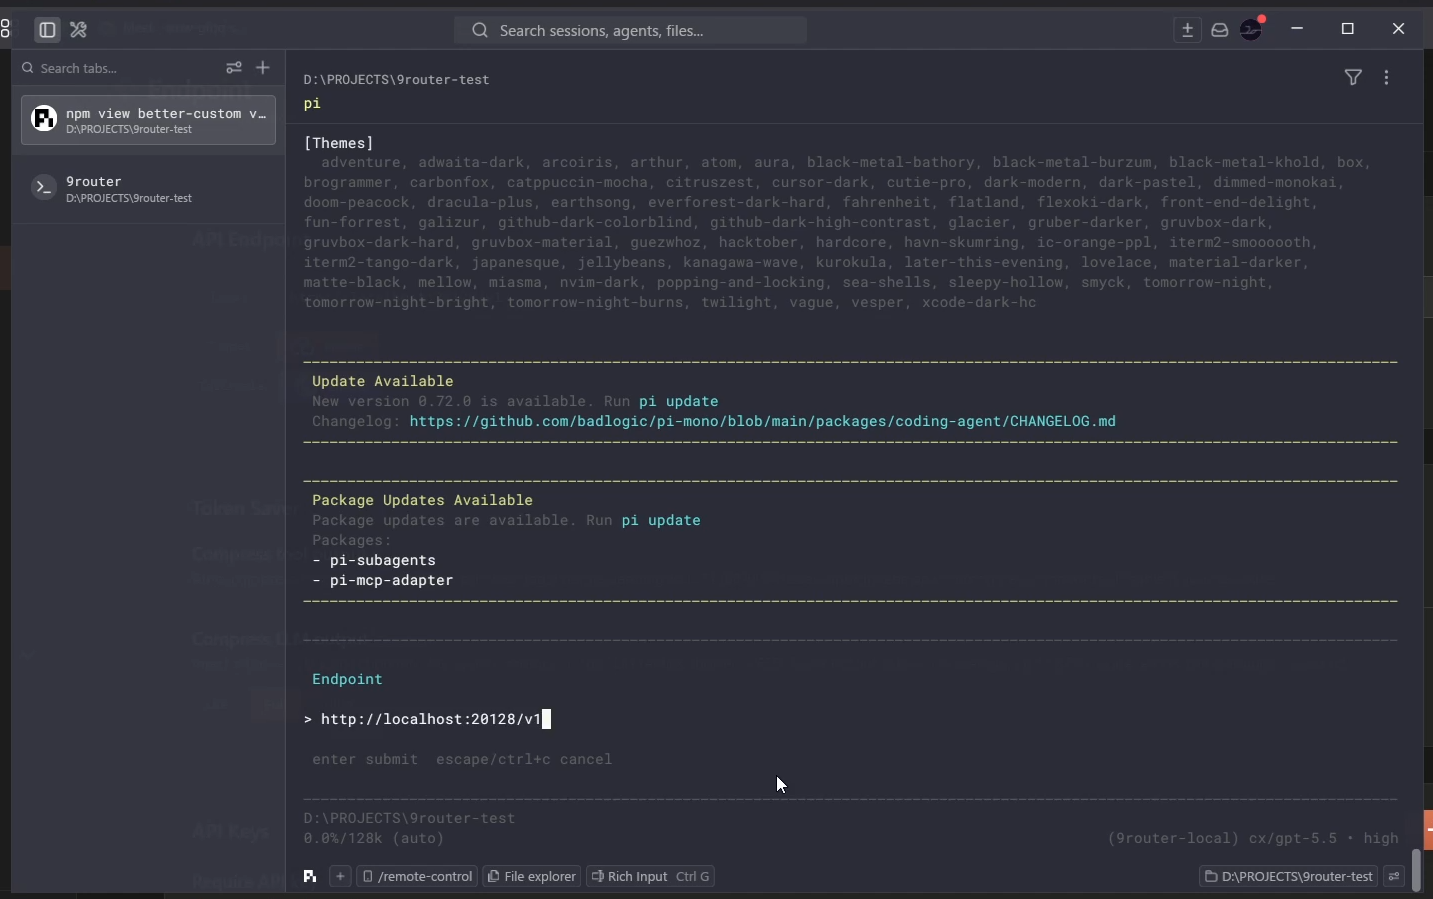
This part creates the main connection: Pi.dev sends OpenAI-style requests, and 9router handles routing those requests to the models behind it.
Step 5: Add the API key
After the endpoint is set, Pi.dev asks for an API key.
Go back to the 9router Web UI and generate a new API key.
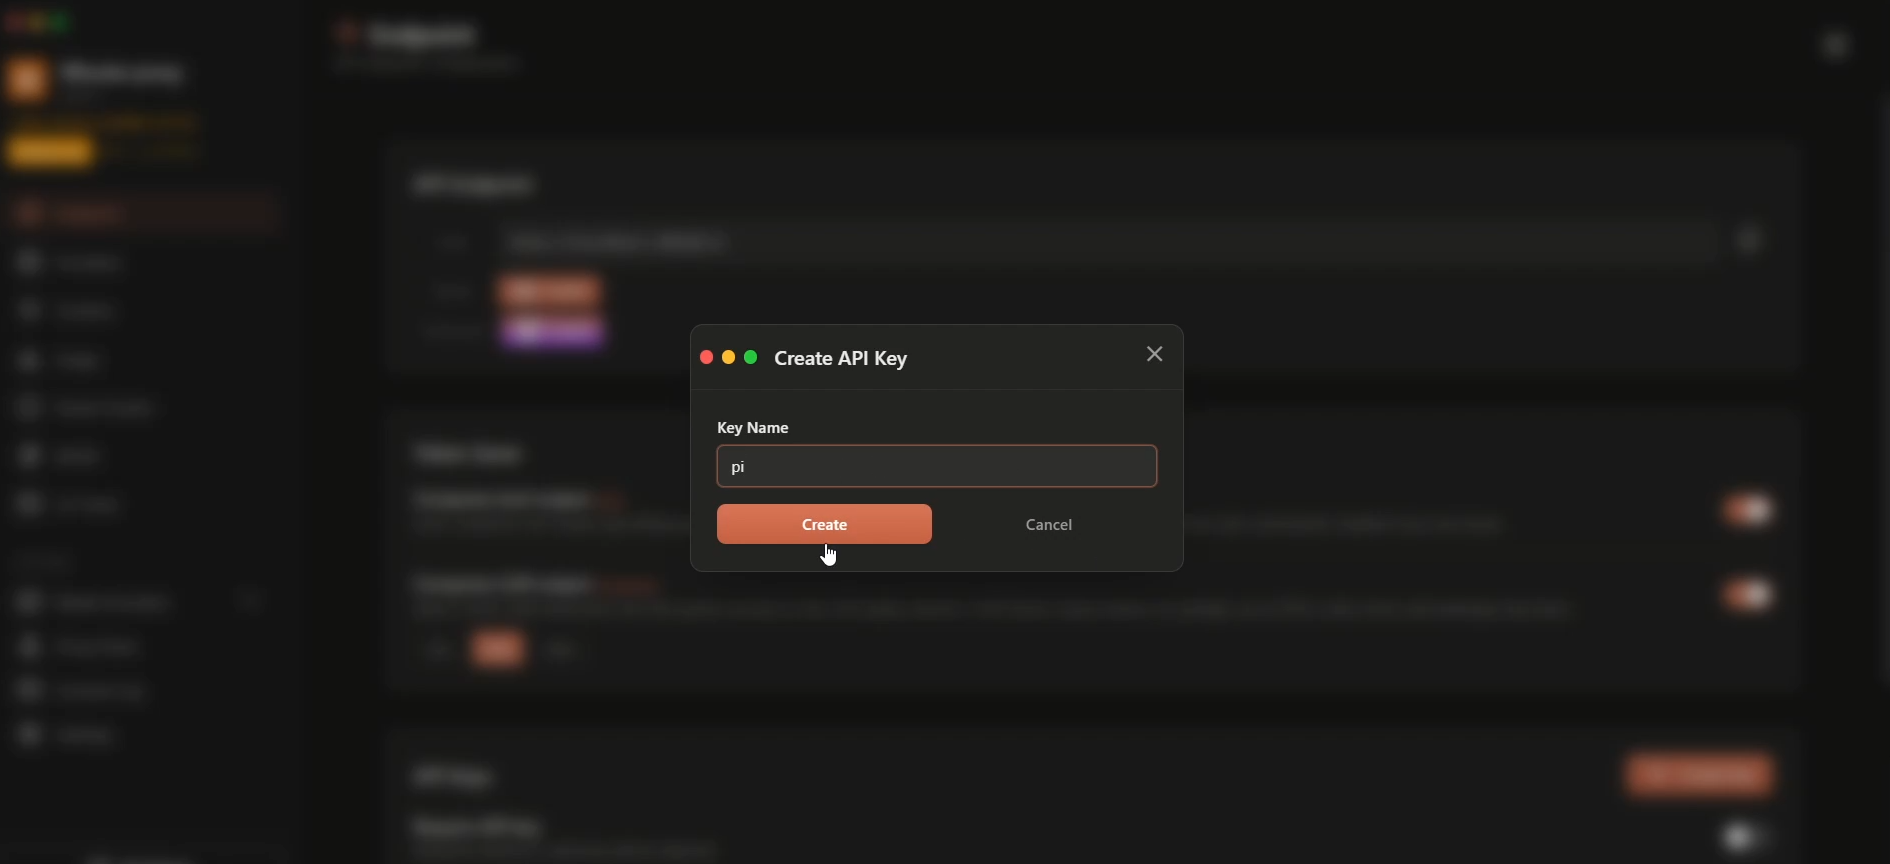
Then paste the API key into Pi.dev.
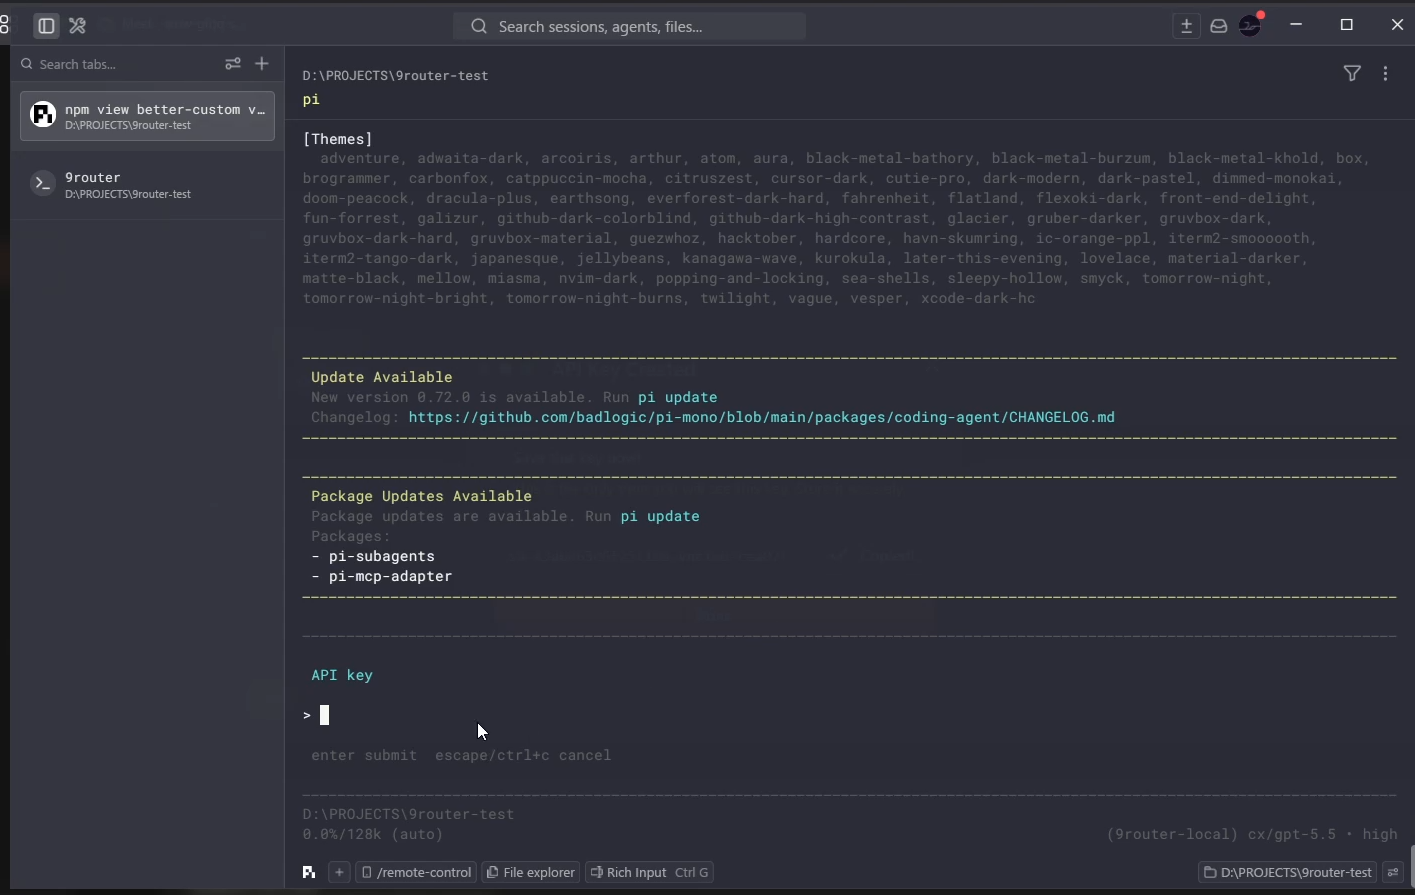
Name the provider 9router-local so it is easy to recognize later. This small naming detail helps when testing multiple providers or switching models during a session.
Step 6: Select models and test it
For the last step, choose which models Pi.dev should use through 9router.
In the model selection screen, look for the provider name created earlier: 9router-local. Under that provider, select the models that should be available in Pi.dev. You do not need to expose every model at once. Keep only the models that make sense for your coding workflow.

After saving the provider and model selection, run the models command in Pi.dev to make sure the new 9router models show up. Then pick one model from 9router-local and send a quick greeting to confirm it responds correctly.
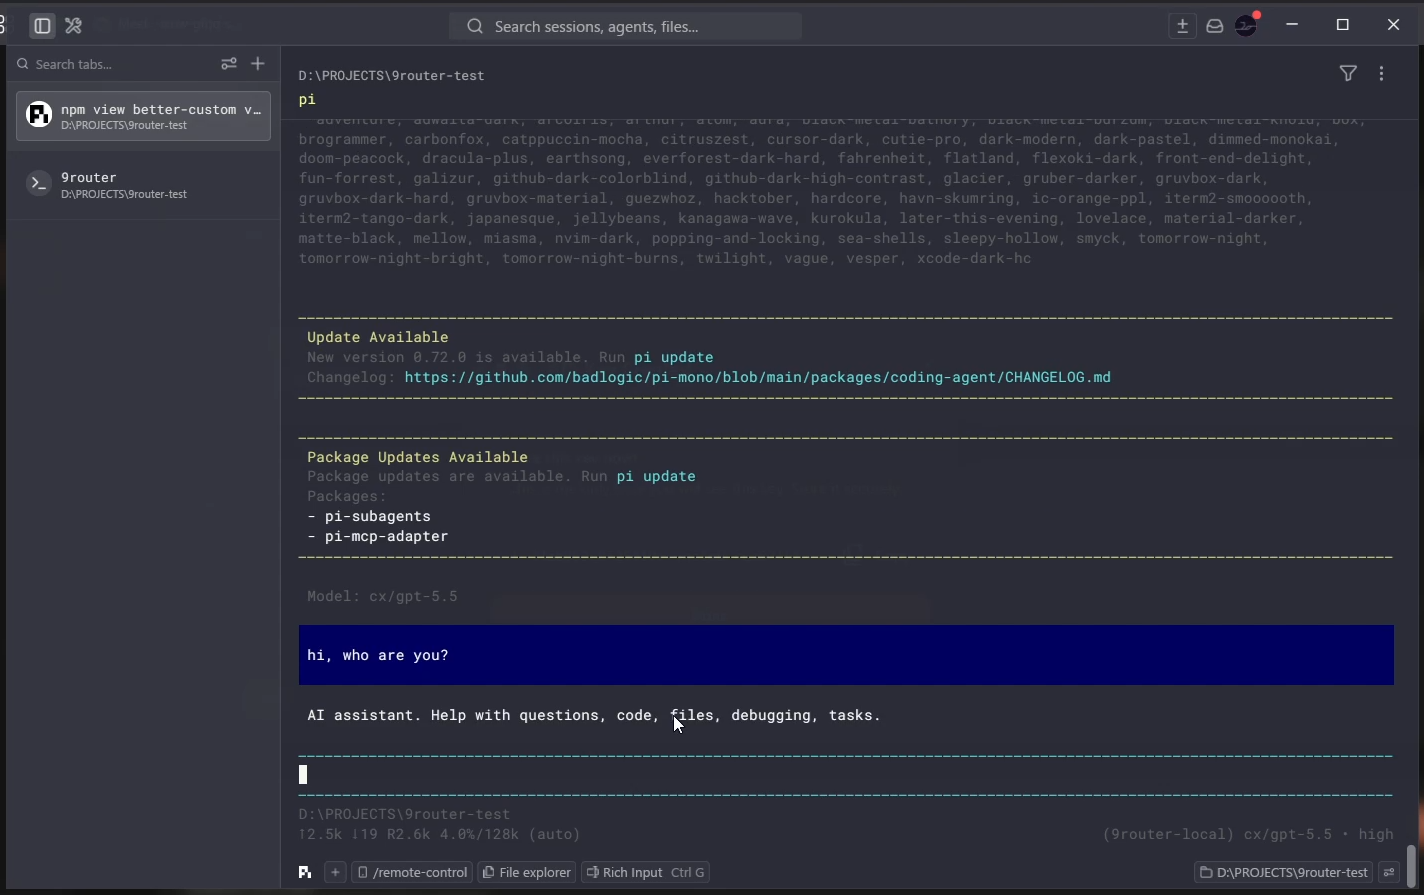
That is the whole setup. Simple, but satisfying.
Why this setup is useful
This setup keeps model routing flexible without making the terminal workflow messy.
You can stay inside Pi.dev, switch between models exposed by 9router, and keep a local routing layer in control. It is especially useful when testing different models with the same prompt or changing providers during a coding session.
Not a huge setup, not a dramatic life-changing thing. Just one of those small workflow improvements that makes the whole day feel a little smoother.